Confession: I used to think “fun workouts” were a marketing myth. Then I tried weighted hula hooping and realized it hits a very specific sweet spot. It is playful enough to feel like recess, but steady enough to count as real movement.
If you are brand new, you do not need perfect technique or a 30-minute routine. You need the right hoop, a little setup, and a rhythm you can repeat without overthinking. Let’s make this easy and genuinely enjoyable.
What a weighted hula hoop is
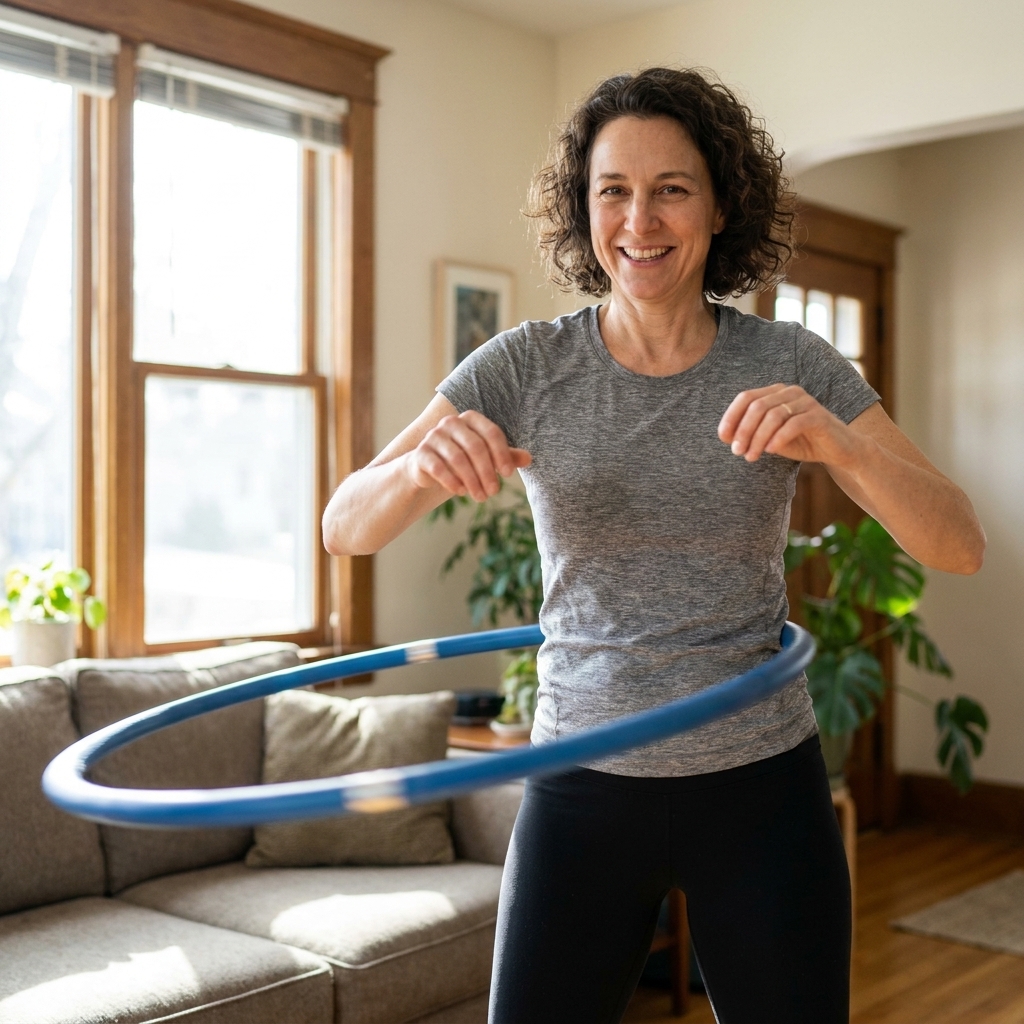
A weighted hula hoop is simply a hoop that has more mass than a classic toy hoop. That extra mass can help the hoop carry momentum so it feels easier to keep moving, but it can also increase impact on your body if you go too heavy too soon.
You will usually see two beginner-friendly categories:
- Traditional weighted hoops: One solid hoop, usually foam-padded. Great for learning smooth, continuous waist hooping.
- “Smart” or “infinity” hoops: A track that clips around your waist with a weighted ball attached. These can feel more accessible if you struggle to keep a standard hoop up, but the sensation and movement pattern are different.
This guide focuses on traditional weighted hoops because they build classic hooping rhythm and core coordination. If you love the track style, you can still use the rhythm tips below, just know it will feel a bit different.
Choosing the right hoop
If hooping feels impossible, it is often a hoop mismatch, not a you problem. Here is how to choose a hoop that sets you up for success.
1) Pick a beginner-friendly size
Bigger hoops are slower. Slower is good when you are learning because you have more time to find the beat.
- Stand the hoop upright next to you.
- A common beginner rule of thumb is that it lands somewhere between your belly button and mid-chest.
Body shape and torso length matter, so treat this as a starting point, not a test you can fail. As a helpful cross-check, many adult beginners like a hoop around 38 to 42 inches in diameter (about 96 to 107 cm). If you are tall or you want the easiest learning curve, go a little bigger.
2) Choose a gentle weight
More weight is not automatically better. Too heavy can bruise and fatigue you fast, which is the opposite of playful fitness.
- Start light to moderate. Many beginners do well with a hoop roughly in the 1 to 2 pound range, and plenty prefer closer to 0.75 to 1.5 pounds at first.
- If you bruise quickly or feel tender after short sessions, start lighter.
- If you have a history of back, hip, or pelvic pain, err lighter and check with a clinician if you are unsure.
3) Look for comfort features
- Foam padding can reduce sting while you build tolerance.
- Grip texture (tape or ridges) can help the hoop “catch” on clothing.
- Sectional hoops that snap together are easier to store and travel with.
4) Clothing tip that changes everything
A slightly grippy layer helps. Try a fitted cotton tee or a ribbed tank instead of slippery athletic fabric. High-waisted leggings can also help the hoop stay in place.
Set up your space
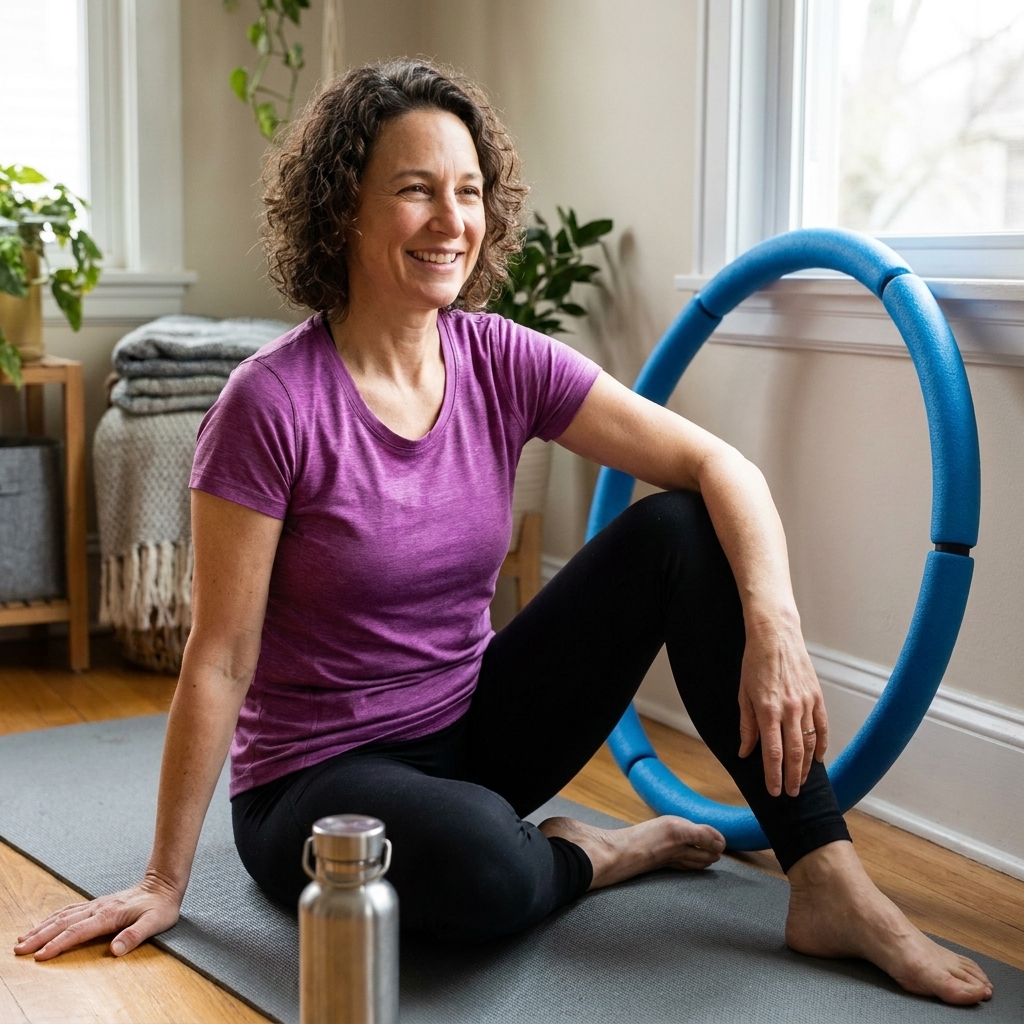
Before you start, give yourself the kind of setup that makes you want to come back tomorrow.
- Clear a “hoop halo”: About an arm’s length of space all around you.
- Choose a forgiving surface: Carpet or a rug can be kinder if the hoop drops.
- Use a mirror if you have one: It helps you learn what your hips are doing without guesswork.
- Pick one song: The same song for a week is like training wheels for rhythm.
Your first five minutes
Here is the most beginner-friendly way to start waist hooping. We are going for “consistent and relaxed,” not “impressive.”
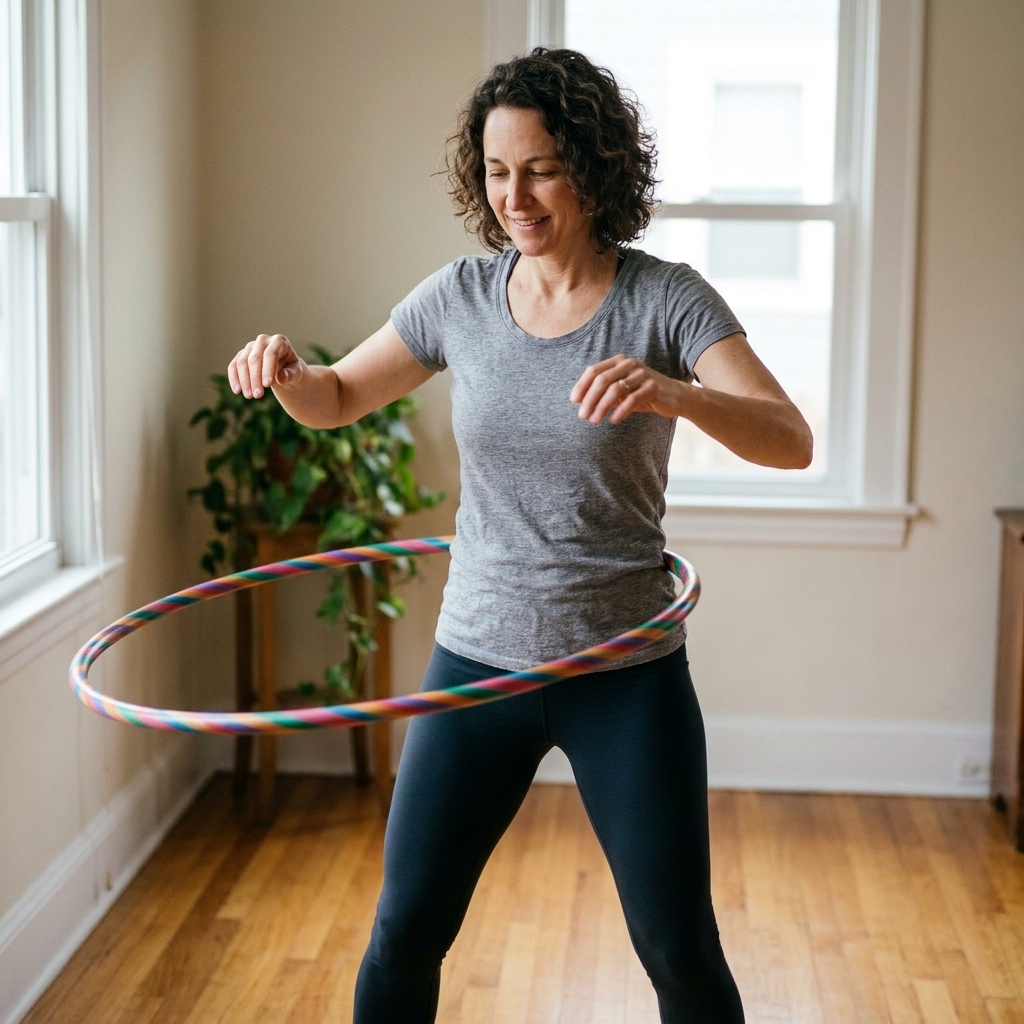
Step 1: Find your stance
- Stand with one foot slightly in front of the other, knees soft.
- Think athletic and springy, not locked.
Step 2: Place the hoop
- Bring the hoop around your waist so it rests against your lower back.
- Hold it level and snug, like you are placing a belt.
Step 3: Give it a confident push
Push the hoop firmly in one direction. Most people do best pushing toward their dominant hand side. If it immediately drops, try the opposite direction.
Step 4: Do the “rock,” not the “circle”
This is the big mindset shift. Many beginners try to swirl their hips in a big circle. A more effective cue is a gentle front-back rock (or sometimes side-to-side), like you are shifting your weight between two points.
- Imagine your belly button moving slightly forward, then slightly back.
- Keep your upper body relatively calm and stacked over your ribs.
Step 5: Breathe and keep it small
Small, steady pulses beat big dramatic movements every time. If you can keep the hoop going for 5 to 10 seconds, you are already building the pattern.
Maya’s cue: “Soft knees, proud chest, tiny rock.” When I say this in my head, my hooping gets noticeably easier.
Common problems
The hoop drops immediately
- Go bigger: A larger diameter hoop moves slower and is easier to catch.
- Try a stronger start push: You need initial momentum.
- Check your knees: Locked knees make your hips less responsive.
It only works in one direction
Totally normal. Practice your “awkward direction” for 1 minute at the end of each session. Your brain loves repetition in tiny doses.
It hurts or bruises
- Shorten sessions: Start with 2 to 5 minutes and build gradually.
- Add a clothing layer: A thicker waistband can help.
- Choose a lighter hoop: Heavier is not a badge of honor.
I feel dizzy
Stop, breathe, and look at a fixed point. Sit down if you need to. Dizziness can happen when you are new, but it can also be a sign you are pushing too hard, dehydrated, or dealing with an inner ear or balance issue. If it persists, pause this activity and check in with a healthcare professional.
My lower back feels cranky
Back discomfort is a sign to scale down and refine your form. Keep the movement smaller, keep your ribs stacked over your pelvis, and take more breaks. If you have existing back issues, talk with a clinician before continuing.
A simple 2-week plan
Consistency beats intensity here. Think of this as teaching your body a new dance step.
Week 1: Make it familiar
- 3 to 5 days this week
- 5 to 8 minutes total
- Do 30 to 45 seconds of hooping, then 30 to 60 seconds of rest
- Finish with 1 minute of “awkward direction” practice
Week 2: Make it steady
- 4 to 6 days this week
- 8 to 12 minutes total
- Try 60 seconds hooping, 30 seconds rest, repeat
- Add one “song challenge” where you hoop for the length of one song with breaks as needed
Your goal is not nonstop hooping. Your goal is showing up and feeling a little more coordinated each time.
Make it feel like play
Weighted hooping becomes magical when you stop measuring it like a test. Here are a few ways to keep it lighthearted while still getting the benefits.
- Pick a “recess playlist”: Songs that make you grin on the first beat.
- Hoop while something simmers: Two minutes while pasta water boils counts.
- Try micro-goals: “Ten good rotations,” not “burn calories.”
- Add gentle variety: Step-taps, a slow turn, or raising your arms overhead for a few beats.
- Celebrate the drops: Every drop is feedback, not failure. Grab it, reset, continue.
One more reality check that can be oddly freeing: intensity varies a lot. Some days it feels like light cardio, some days it feels surprisingly challenging, and it is not a guaranteed calorie-burn hack. The real win is that it is movement you will actually repeat.
Safety basics
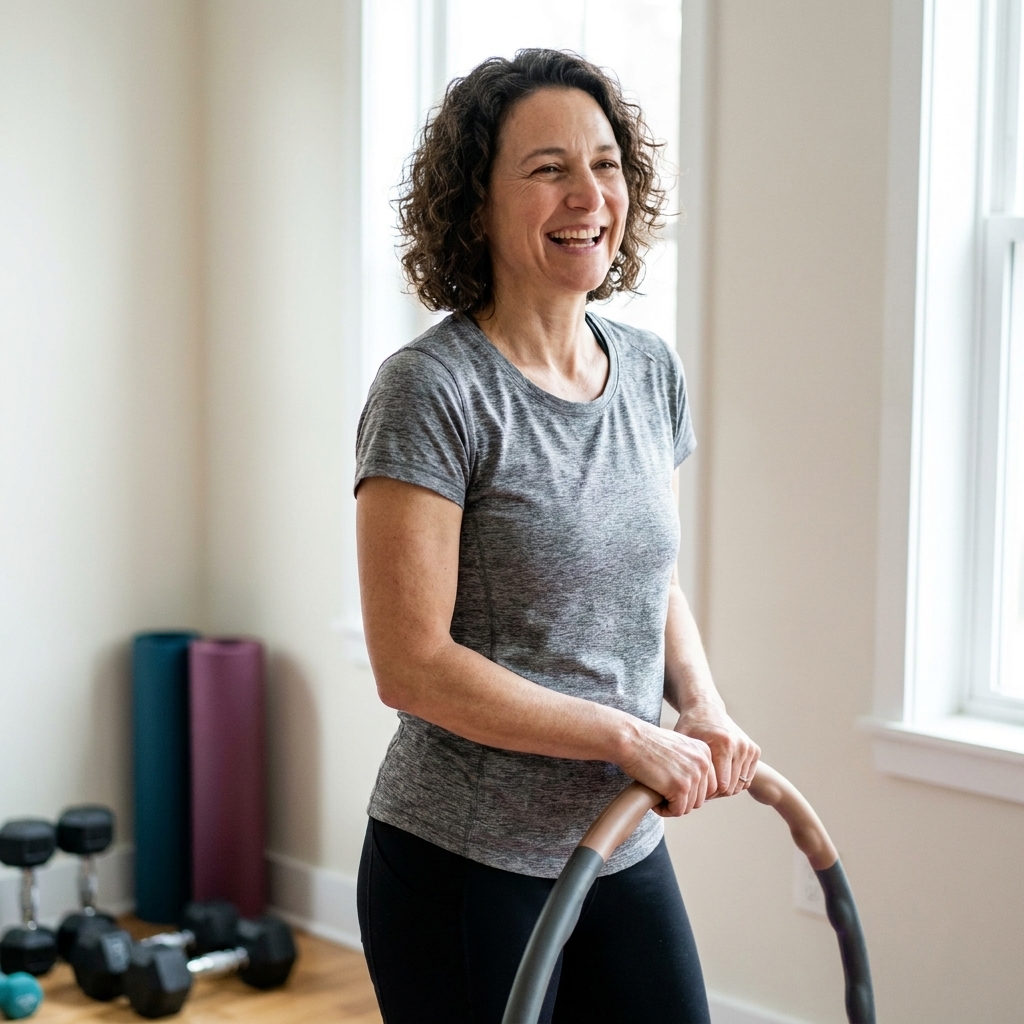
Weighted hula hooping is generally a moderate, accessible activity, but a little common sense goes a long way.
- Start short: Especially if you are prone to bruising or sensitive around the hips.
- Avoid extreme “heavy hoop” challenges: More weight can increase impact on the abdomen, hips, and lower back.
- Pause if you feel sharp pain, numbness, or pelvic pressure.
- Check with a healthcare professional before starting if you are pregnant, recently postpartum, recovering from abdominal or back surgery, have a hernia, have significant pelvic floor symptoms, or have vertigo or other balance or vestibular conditions.
And of course, keep it away from curious pets. Barnaby personally believes every hoop is a toy, and he is wrong.
FAQ
How long should a beginner weighted hoop session be?
Start with 5 minutes total (including breaks) and build to 10 to 15 minutes as your body adapts. Short, frequent sessions tend to feel better than one long weekend workout.
Is weighted hula hooping good for your core?
Yes, it can be. Hooping trains your trunk to stabilize while your hips create rhythm. Think of it as coordination plus endurance for your midsection, not a targeted “spot reduction” tool.
Can I hoop every day?
Many people can, especially with lighter hoops and shorter sessions. If you are getting bruised or sore, alternate days or reduce time until your body acclimates.
Why can’t I keep the hoop up?
Usually it is one of three things: the hoop is too small, the push is too gentle, or the hips are moving in a big circle instead of a steady rock. Tweaking any one of those can change everything.
Should I buy the heaviest hoop to get better results?
No. Choose a weight that feels comfortable enough to practice consistently. Progress comes from repetition, not punishment.
Your tiny next step
If you do nothing else today, do this: put on one song, try the soft-knees stance, and aim for ten relaxed rotations. Then stop while it still feels fun.
Playful fitness works when it feels like something you get to do, not something you have to do. And if your hoop drops 47 times, congratulations. You are officially learning.