Recovery at home does not have to look like a complicated “protocol.” My favorite routines are the ones that feel like a small exhale in the middle of real life. A few well-chosen tools can make that exhale easier to access, especially on days when motivation is low and your nervous system feels like it is running the show.
Below are 10 essentials I love for building an at-home recovery corner that feels calming, effective, and doable. Pick one or two to start. You are not behind. You are just building a rhythm.
One gentle truth before we begin: tools can support recovery, but the real foundations are still sleep, hydration, and fueling. If those are wobbly, start there and let these tools be your helpers, not your homework.
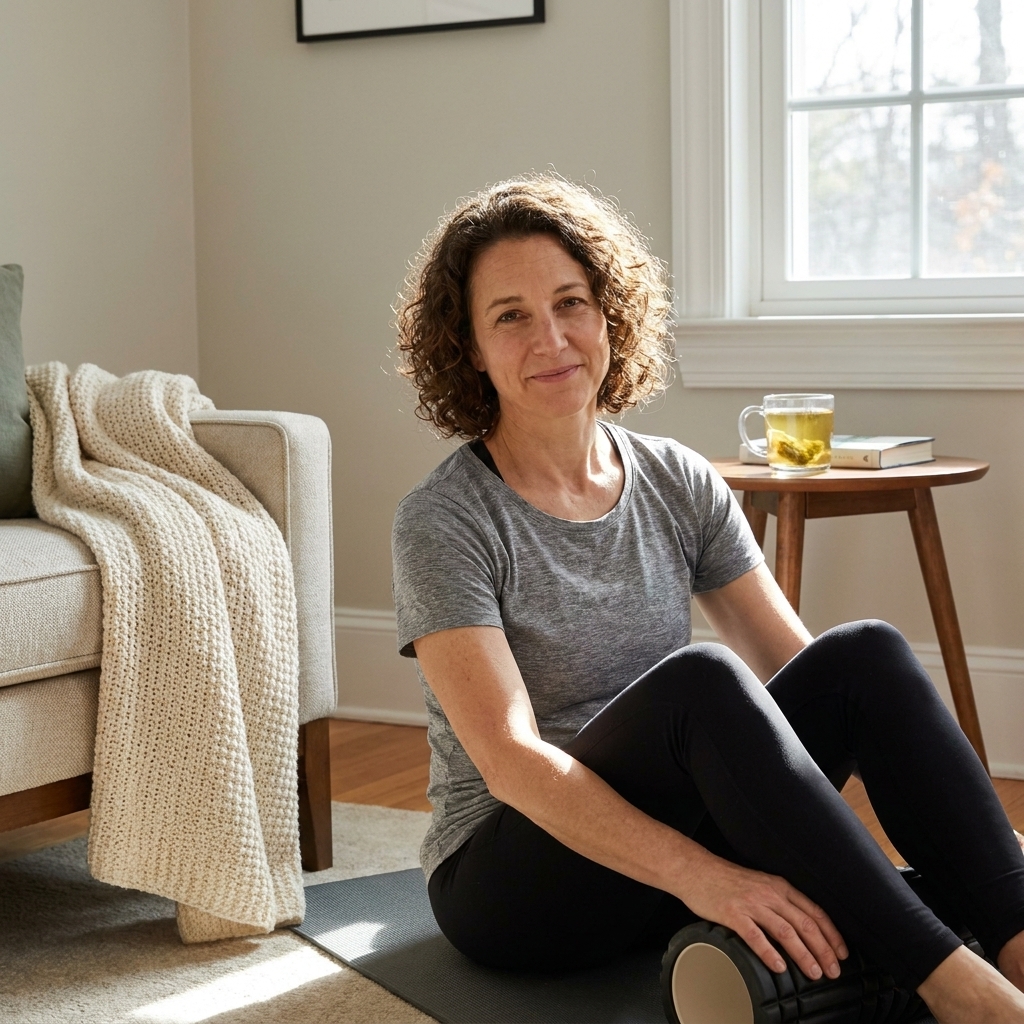
Safety first
I love a DIY routine, but I love your safety more. Consider skipping aggressive self-treatment and getting professional guidance if you have any of the following:
- Sharp, worsening, or unexplained pain
- Numbness, tingling, radiating symptoms, or significant weakness
- Recent surgery, a new fracture, or a suspected tendon tear
- Osteoporosis or high fracture risk
- Diabetes or neuropathy (reduced sensation matters a lot with heat and cold)
- Circulation concerns, blood clot history, or you are on blood thinners
- Pregnancy or postpartum recovery (especially with heat, intense pressure, and weighted blankets)
If you are unsure, a physical therapist or licensed clinician can help you choose the right tool and intensity for your body.
1) Foam roller
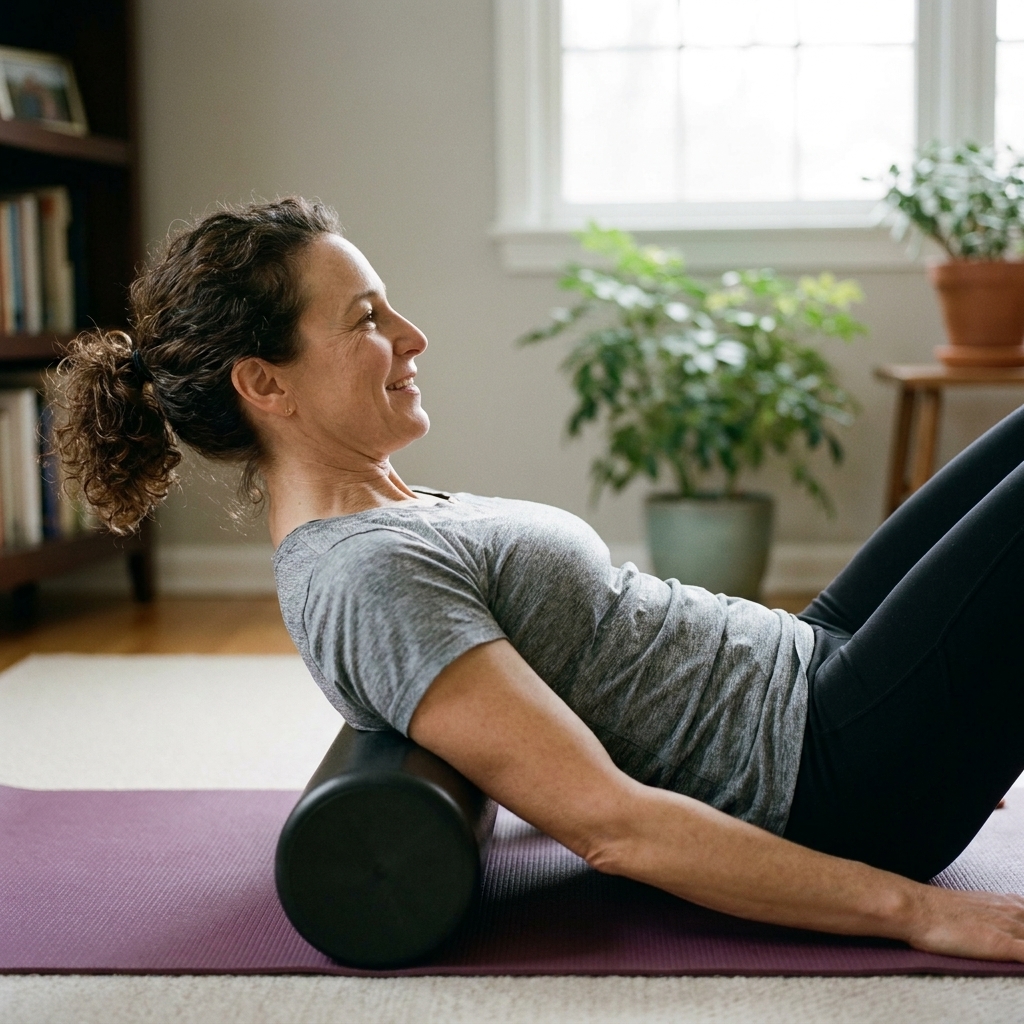
If you buy one recovery tool, make it a foam roller. It is simple, affordable, and genuinely helpful for many people who want to reduce the feeling of post-workout soreness and tightness after long hours at a desk. It is not a magic fix, but it can be a fast way to feel looser and more comfortable.
How to choose
- Smooth, medium density: Best for most beginners and sensitive bodies.
- Textured: More intense and more specific pressure.
- Long (36 in): Great for upper back support and gentle chest opening.
Try this mini routine (3 minutes)
- 30 seconds: slow rolls on upper back (avoid rolling directly on low back)
- 60 seconds: glutes, pausing on tender spots and breathing
- 60 seconds: quads, slow and steady
- 30 seconds: calves
Coach tip: Pressure should feel like a “productive ache,” not sharp pain. If you are wincing or holding your breath, ease up.
2) Massage ball (or lacrosse ball)
Massage balls are the secret weapon for the spots a foam roller cannot quite reach, like hips, glutes, feet, and the tight area between your shoulder blade and spine.
Best uses
- Feet: Roll under your arch for 60 to 90 seconds per side after a long day.
- Glutes: Sit on the ball and lean slightly to find tension, then breathe.
- Upper back: Place the ball against a wall and do tiny shifts side to side.
Gentle reminder: If you have nerve pain, numbness, or radiating symptoms, skip aggressive pressure and consider checking in with a physical therapist.
3) Massage gun (optional)
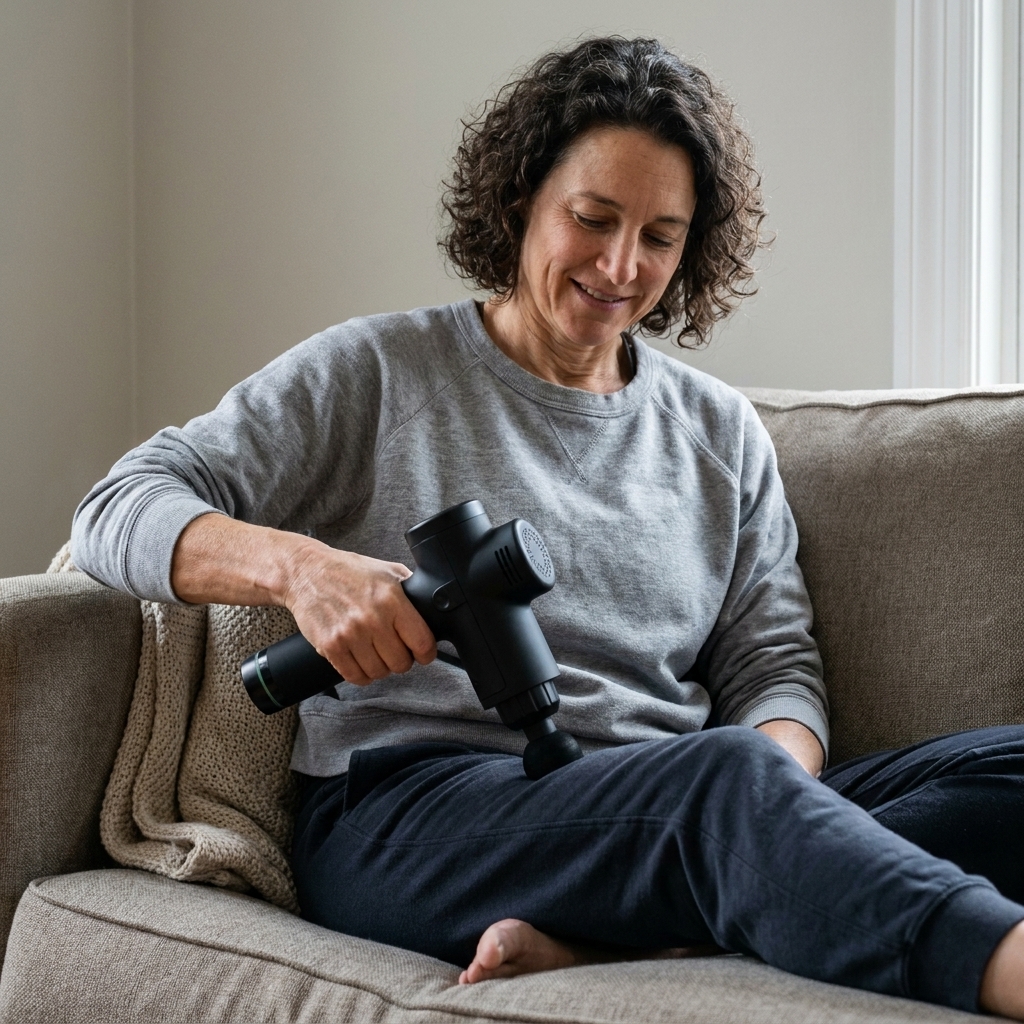
I put this one in the “nice-to-have” category, not the “must.” But if you love a quick, satisfying release, a massage gun can help you unwind in five minutes.
What to look for
- Multiple speed settings: So you can keep it gentle.
- Quiet motor: You will actually use it more.
- Interchangeable heads: A round head is a great all-purpose option.
Safety notes
- Avoid bony areas, joints, the front of the neck, and direct pressure on the spine (including low back).
- Avoid bruised tissue, acute strains, and areas with varicose veins.
- Use extra caution if you are on blood thinners or you have reduced sensation (neuropathy).
- Keep moving, do not pin it in one spot for too long.
- Think 30 to 60 seconds per muscle group.
4) Heating pad or heat wrap
Heat is comfort. It is also a lovely way to help muscles soften and signal to your body that it is safe to relax. I am especially into heat for lower back tightness, menstrual cramps, and shoulder tension after laptop-heavy days.
How to use it
- Before mobility: 10 minutes of heat, then gentle movement.
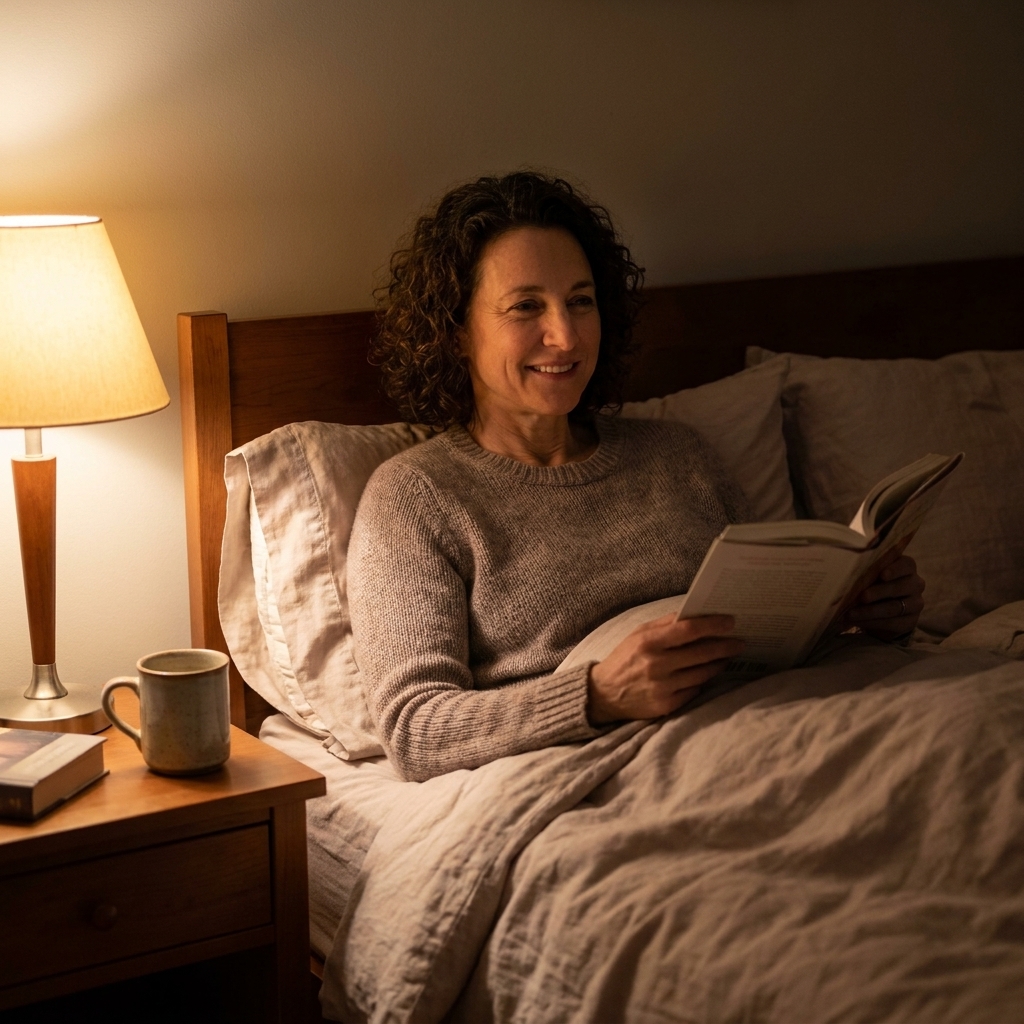
- Before bed: Heat + a book = nervous system magic.
- During breathwork: Place it on your belly or low back and breathe slowly.
Quick note: For a new injury with noticeable swelling, heat, or tenderness, cold may feel better than heat. If symptoms are significant or you are not sure what you are dealing with, get assessed.
5) Ice pack or cold wrap
Cold is not always pleasant, but it can be helpful for flare-ups and areas that feel hot or swollen. I like a soft, reusable gel pack because it molds to knees, ankles, and shoulders without feeling like a brick.
Best times for cold
- After a flare-up with swelling or warmth
- For acute aches after a new activity
- For a quick “reset” if you run hot or feel inflamed
Keep it simple: 10 to 15 minutes with a thin layer between the pack and your skin. If you have reduced sensation, be extra cautious and keep sessions shorter.
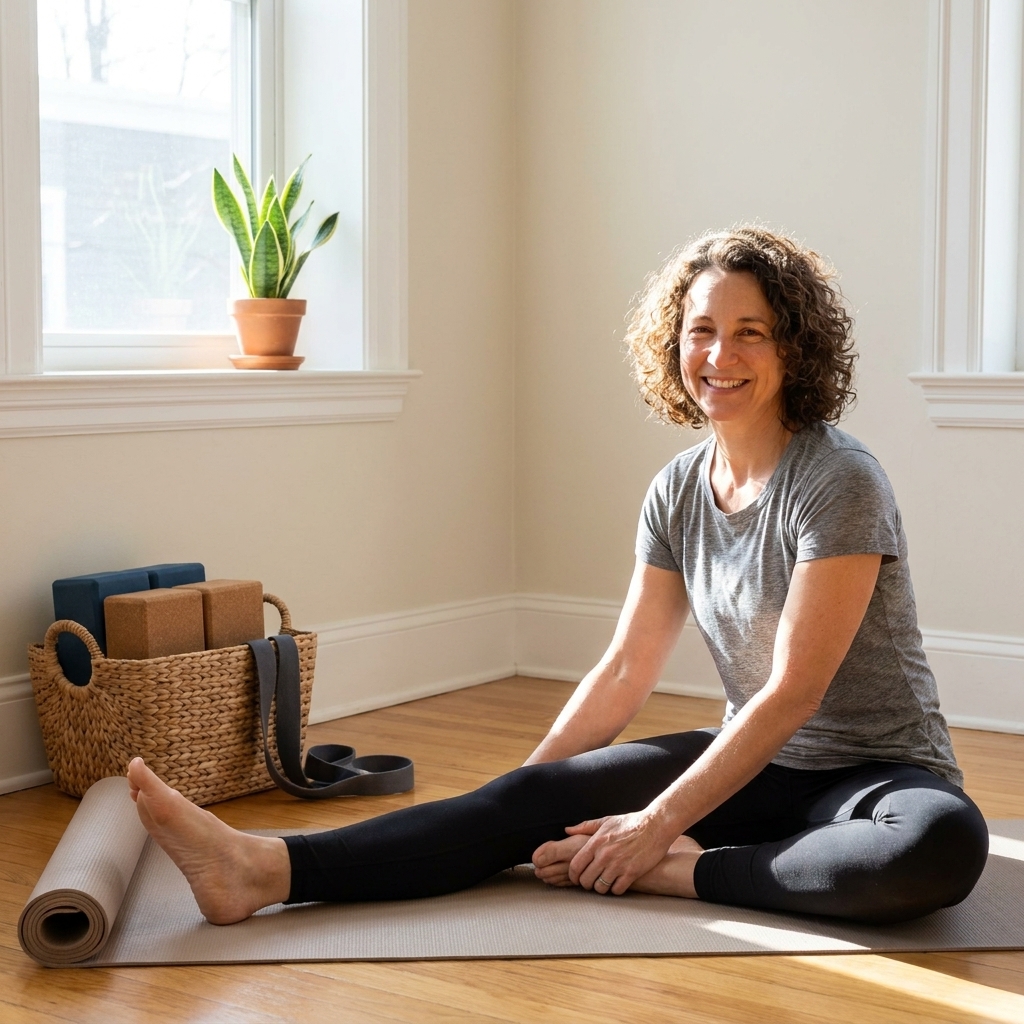
6) Yoga props (bolster, blocks, strap)
If you have ever tried to “relax” into a stretch while your body is quietly bracing, props are your answer. Support turns stretching into restoration, which is the whole point.
My go-to prop trio
- Bolster: For legs-up-the-wall, heart openers, and supported child’s pose.
- Blocks: Bring the floor closer so you can stop straining.
- Strap: Helps with hamstrings and shoulders without yanking.
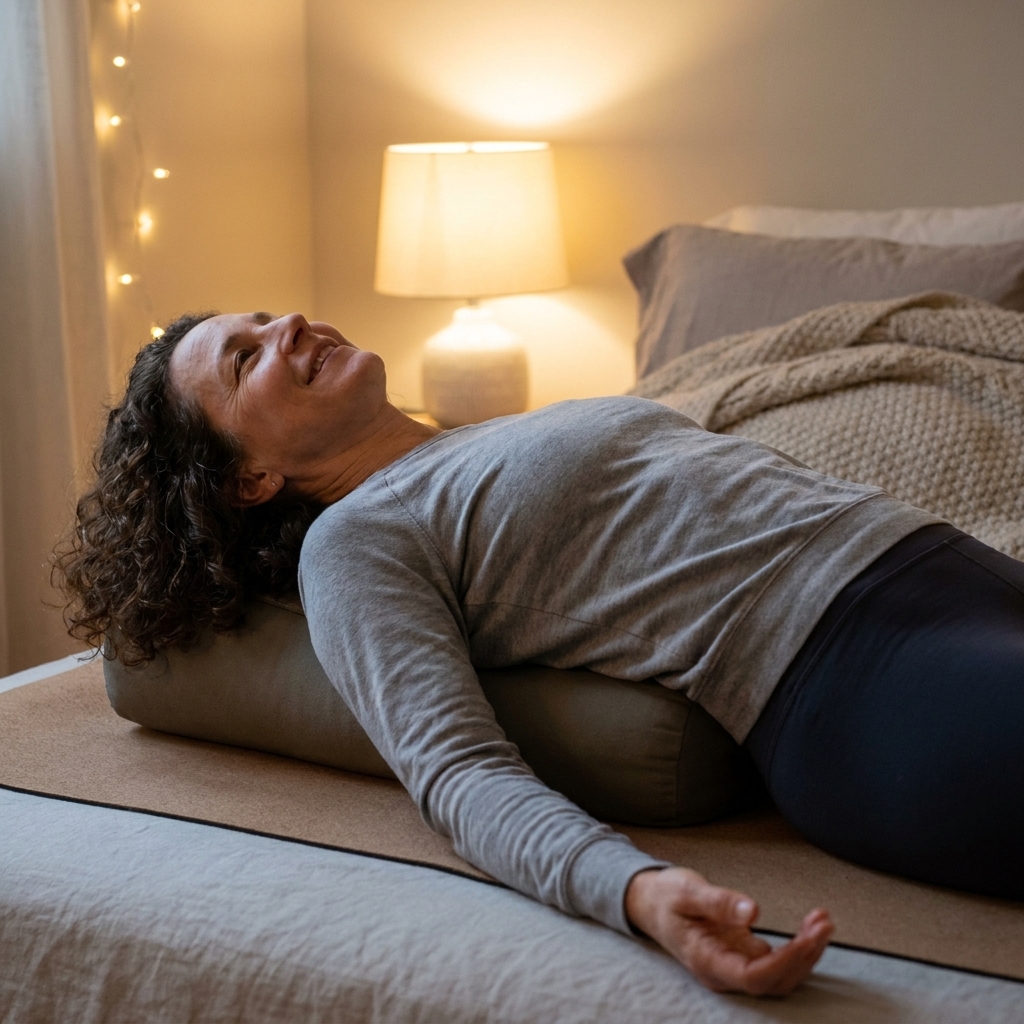
Try this: supported chest opener (2 to 5 minutes)
Place a bolster lengthwise along your spine, sit in front of it, then gently lie back so your chest opens and your arms rest wide. Breathe into your ribs and let gravity do the work.
7) Weighted blanket or throw
This one is pure nervous system comfort. A weighted blanket can create a grounding, settled feeling, especially if your mind tends to sprint at night.
Choosing a weight
A common guideline is around 10 percent of your body weight, but it is not a universal rule. Comfort and breathing ease matter more than math. Start lighter if you are unsure, and skip it if it makes you feel restricted.
Extra cautions
- Avoid if you have breathing or respiratory issues, mobility limitations that make it hard to remove, or claustrophobia.
- If you are pregnant or postpartum, choose light pressure only and prioritize comfort.
- For children, use only with pediatric guidance and appropriate sizing.
Easy ways to use it
- 10 minutes during a guided meditation
- Over your legs while reading
- During a post-dinner wind-down instead of scrolling
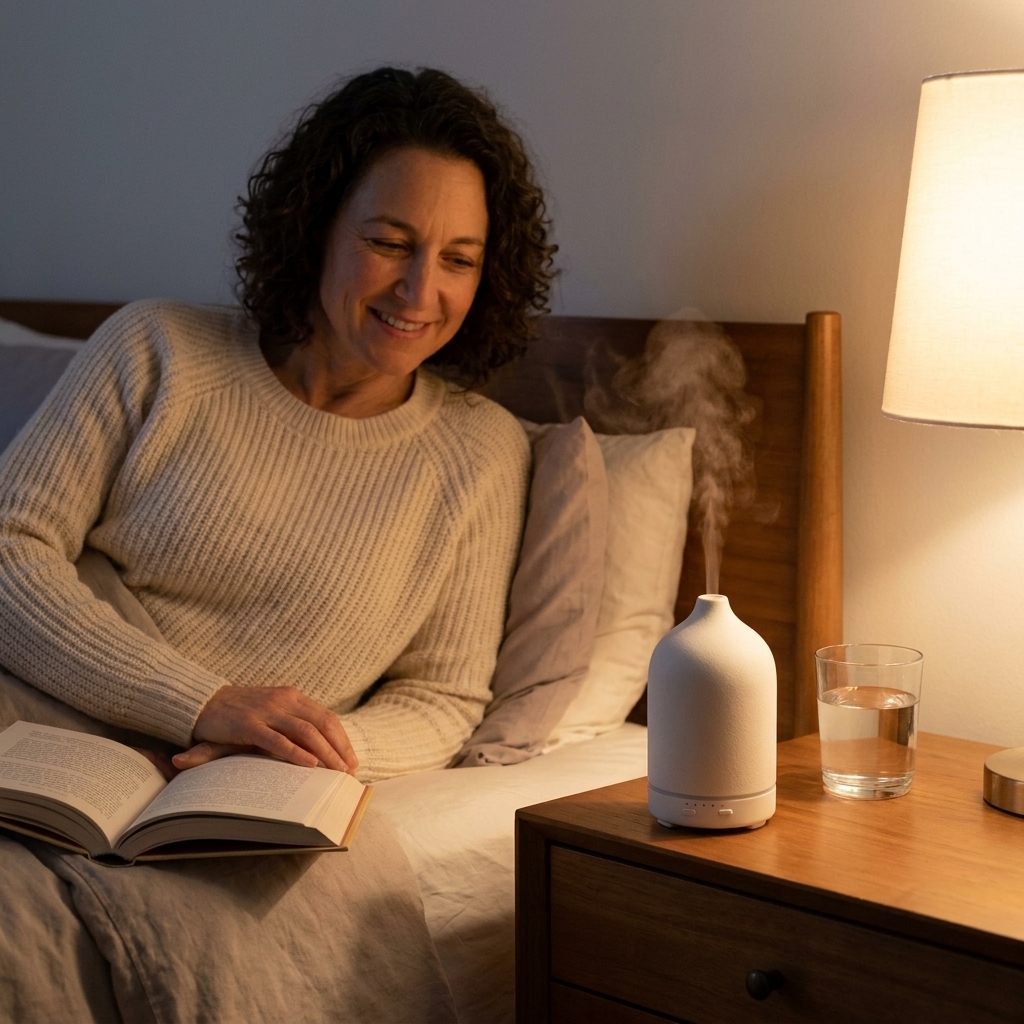
8) Diffuser (or candle)
Scent is a shortcut to mood. I love a diffuser because it makes the room feel like it is time to wind down without much effort. If a diffuser feels like one more appliance, a clean-burning candle works too.
Favorite recovery-friendly scents
- Lavender: Classic calm
- Eucalyptus: Spa vibes and a mental refresh
- Bergamot: Bright and mood-lifting
- Cedarwood: Grounding for evening routines
Pet note from me and Barnaby (my dog): Essential oils can be risky for pets, especially cats and birds. Avoid diffusing around them, keep rooms well-ventilated, never apply oils directly to pets, and check with your vet if you are unsure. If your pet seems bothered, stop immediately.
9) Warm lighting
Bright overhead lighting tells your brain, “Time to produce.” Warm, lower lighting tells your body, “We can soften now.” This is one of the most underrated recovery upgrades because it works fast.
Easy options
- Dimmable warm bulbs: The biggest impact for the lowest cost.
- Salt lamp or small amber lamp: A steady glow for evening wind-down.
- Smart bulb schedule: Automatically warm and dim at night.
Try this tonight: After dinner, turn off the overheads and use one warm lamp for 30 minutes. Notice how your pace changes.
10) A recovery basket
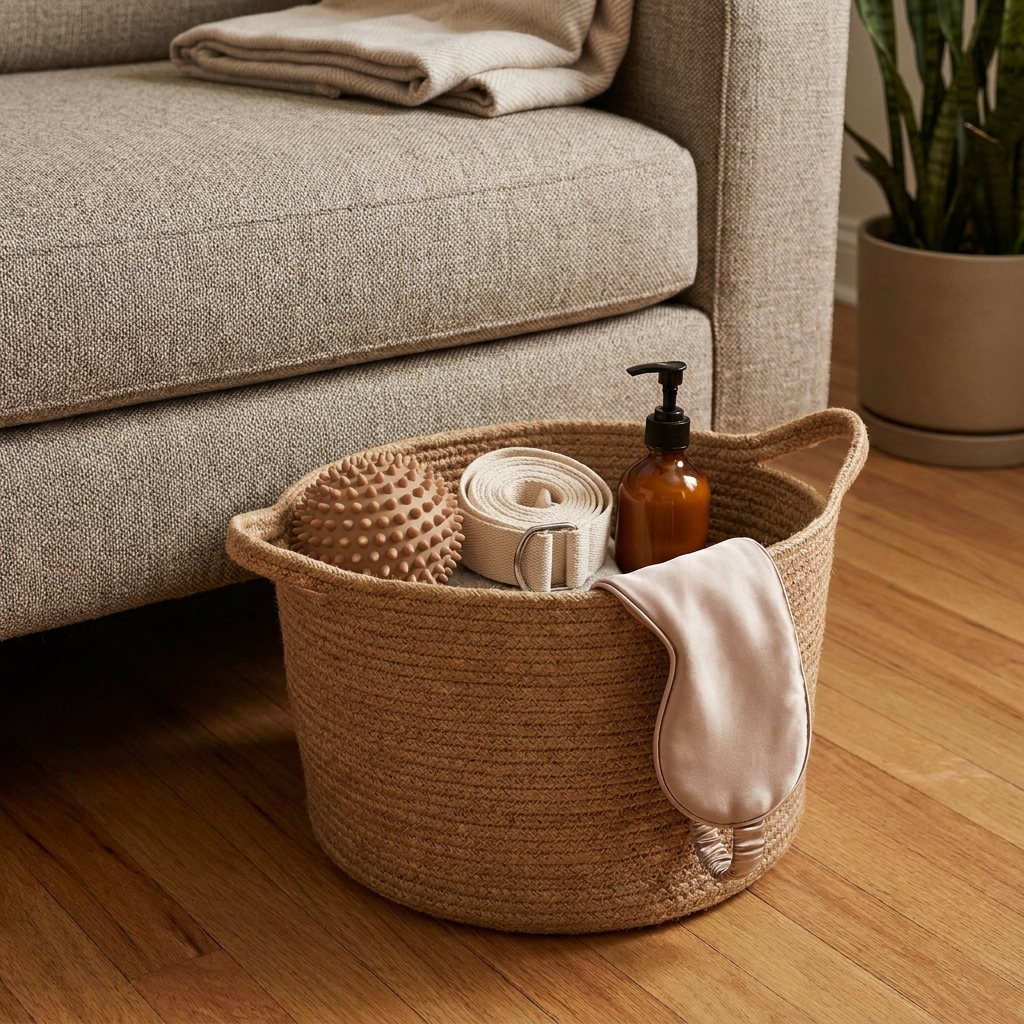
This is not a fancy tool, but it might be the most important one. When your recovery items live in five different drawers, your routine becomes a scavenger hunt. A simple basket makes recovery a grab-and-go habit.
What to put inside
- Massage ball
- Resistance band or strap
- Magnesium lotion or a basic unscented body cream
- Sleep mask
- Notebook and pen for a quick brain dump
- Herbal tea bags
Maya move: Put the basket where you already rest. Next to the couch, by the bed, or in the corner where you stretch. Convenience is self-care.
Put it together: 15 minutes
If you want a simple flow that uses a few of these tools without turning your evening into a project, here is a routine I genuinely come back to:
- Set the room (1 minute): Warm light on, diffuser or candle going.
- Soften muscles (3 minutes): Heating pad on shoulders or low back.
- Release tension (5 minutes): Foam roller or massage ball, slow and steady.
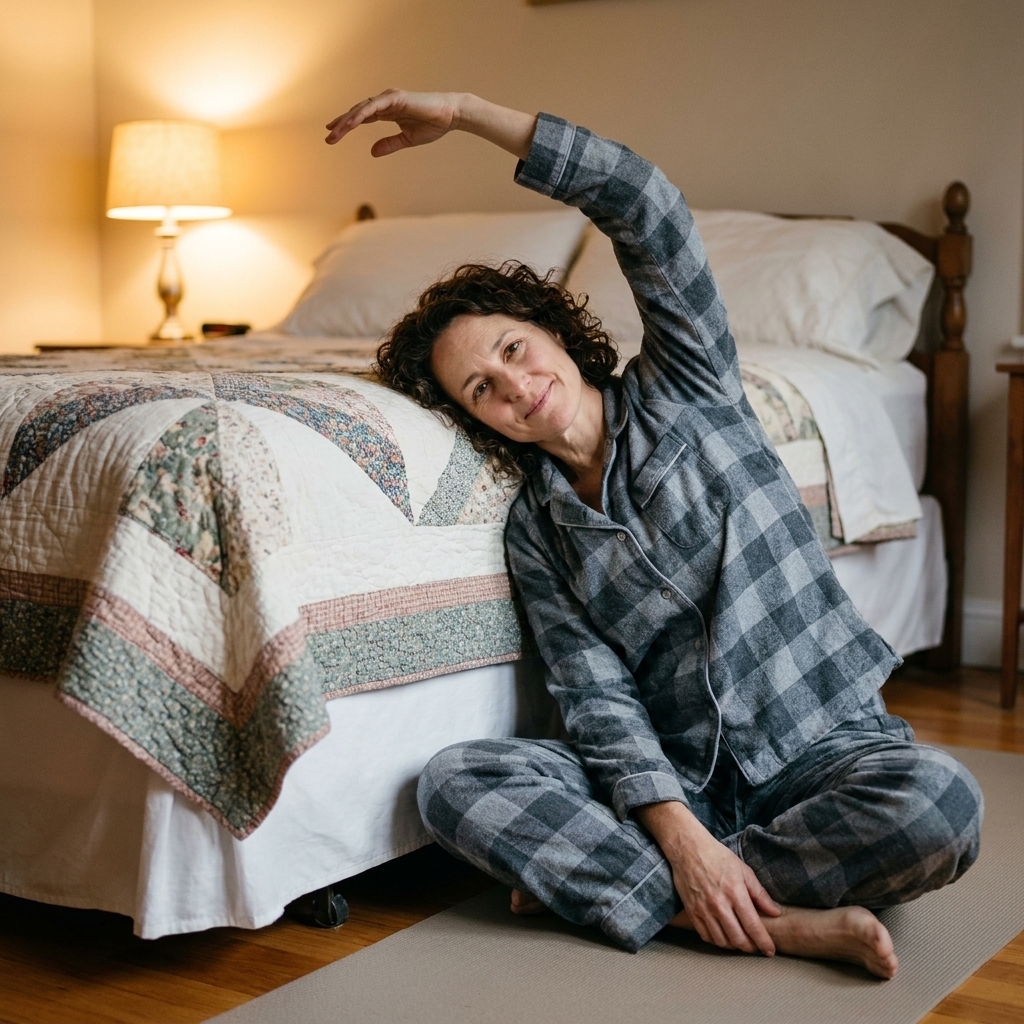
- Move gently (4 minutes): Try this mini sequence:
- Cat-cow: 5 slow breaths
- 90-90 hip switches: 6 total, easy range
- Thread-the-needle: 3 breaths per side
- Restore (2 minutes): Supported chest opener on a bolster, slow breathing.
That is it. No perfection required. Just a gentle signal to your body that it can recover here.
Quick FAQ
Do I need all 10 tools?
Nope. Start with one “body tool” (foam roller or massage ball) and one “environment tool” (warm lighting or scent). That combo covers a lot of ground.
What is best for beginners who feel sore all the time?
A smooth foam roller, a massage ball, and a heating pad are a friendly starting trio. Pair them with short sessions and lots of slow breathing. If soreness is constant, intense, or not improving, it is worth looking at training load, sleep, hydration, and nutrition too.
How often should I do recovery work?
Think consistency over intensity. Even 5 to 10 minutes, three or four days a week, can help your body feel more supported.
When should I get professional support?
If pain is sharp, worsening, persistent, or affecting sleep and daily life, it is worth talking to a licensed clinician or physical therapist. Tools are great, but you deserve real answers too.
Recovery is not something you earn. It is something you practice. Small tools, tiny rituals, and a little kindness toward your body can change your whole week.
If you try one of these upgrades, I would love for it to be the one that makes you say, “Oh, this feels like me taking care of me.”